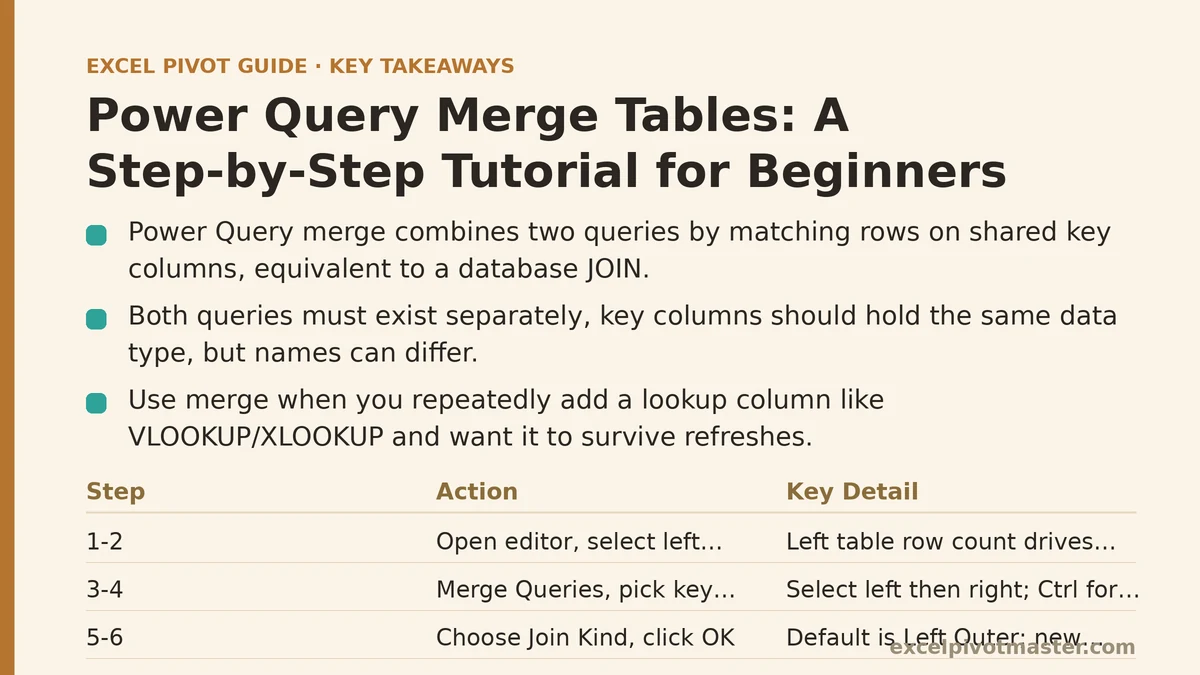
A Power Query merge is an operation that combines two queries into one by matching rows on one or more shared columns, producing a single table that carries columns from both sides. It is the Power Query equivalent of a database JOIN, and it is the step most beginners reach for when they need to bring a lookup column — a price, a region name, a category — into a table that currently lacks it. The mechanics take about two minutes to learn. The judgment about which join kind to choose, and which column to match on, is where most merges go wrong.
This tutorial walks through the process end to end, then ranks the six join kinds by how often a beginner will need them, and finishes with a checklist for diagnosing a merge that returns the wrong row count.
What You Need Before You Merge
Two queries, loaded into Power Query, that share at least one column with overlapping values. That shared column is called the key.
A typical setup looks like this. One table holds transactions: Order ID, Customer ID, Date, Amount. A second table holds customer records: Customer ID, Customer Name, Region, Signup Date. The transactions table has no customer name and no region. Merging the two on Customer ID appends those columns to every transaction row, so a pivot table built on the result can group by Region without any manual VLOOKUP column added to the worksheet.
A useful rule of thumb: if you find yourself adding a lookup column in the grid with VLOOKUP, INDEX/MATCH, or XLOOKUP, and the operation will be repeated every time the data refreshes, that is a merge candidate. Doing it once in Power Query means it survives every future refresh without touching the worksheet.
Three prerequisites matter before you start:
- Both queries must exist as separate queries. Load each range with Data → Get & Transform Data → From Table/Range. Name them something you will recognize later.
- The key columns should hold the same type of value. Text matching against text, number against number. A Customer ID stored as text in one table and as a number in the other will typically fail to match at all, returning every row as unmatched.
- The key column name does not have to be identical. Power Query lets you select the left column and the right column independently in the merge dialog. Matching a column called
CustIDto one calledCustomer IDworks fine as long as you pick each side explicitly.
The Merge in Six Steps
- Open the Power Query Editor with Data → Get & Transform Data → Launch Power Query Editor, or by double-clicking any existing query.
- In the left-hand Queries pane, select the query that will receive the new columns. This is the left table, and its row count drives the output. If you have 4,200 transactions and 800 customers, the left table is the transactions query.
- Go to Home → Merge Queries (or Merge Queries as New if you want the result in a separate query rather than replacing the current one).
- In the dialog, click the key column in the top (left) table. Then click the matching key column in the bottom (right) table. If the columns have different names, Power Query handles this automatically once both are selected. For multiple keys, hold Ctrl and select additional columns in the same order on both sides.
- Choose the Join Kind from the dropdown. The default is Left Outer. See the ranked section below for which to pick.
- Click OK. A new column appears at the end of the table, headed with the name of the right-hand query. Its cells contain the word
Tablerather than values — this is expected. Click the expand icon (two diverging arrows) in that column’s header, uncheck “Use original column name as prefix” if you do not want the right table’s name prepended, and select the columns you want to bring across. Click OK.
The result is a single query with the original left-table columns plus the selected right-table columns, aligned row by row on the key.
The Six Join Kinds, Ranked by How Often You Will Need Them
The Join Kind dropdown determines which rows survive the merge. Choosing the wrong one is the single most common reason a merge returns fewer or more rows than expected.
1. Left Outer — the default, and correct most of the time
Keeps every row from the left table. Right-table columns are filled where a key matches and left null where it does not. This is what you want when the left table is your complete list of transactions and the right table is reference data that may not cover every row. Row count after the merge equals the left table’s row count, unless the right table has duplicate keys — more on that below.
2. Inner — use when you only want matched rows
Keeps only rows where the key exists in both tables. If 4,200 transactions reference 780 distinct customers and the customer table holds 800 records, an Inner join returns only the transactions whose Customer ID appears in the customer table. Row count will be less than or equal to the left table. Choose Inner when unmatched rows represent data you want excluded from the result — orphaned records, test entries, transactions logged against deleted accounts.
3. Left Anti — use when you want to find what is missing
Keeps only rows from the left table whose key does not appear in the right table. This is the diagnostic join. If you suspect that some transactions reference customers who were never entered in the customer table, a Left Anti join returns exactly those rows. The result typically has only the left table’s columns. Pair this with a row count check: a Left Outer join and a Left Anti join run on the same pair of tables should total back to the left table’s row count.
4. Full Outer — use when you need the union of both sides
Keeps all rows from both tables. Where a key exists on only one side, the other side’s columns come back null. Rarely the right choice for reporting, but useful when building a reconciliation query or a master key list that must include every ID seen in either source.
5. Right Outer — occasionally useful, usually better expressed as a Left Outer
Keeps all rows from the right table, discarding left rows that do not match. In practice, a Right Outer join between table A and table B produces the same result as a Left Outer join between table B and table A. Since Power Query lets you swap which query sits on top, most users find it clearer to reorder the tables and use Left Outer rather than reason about a Right Outer.
6. Right Anti — the inverse of Left Anti
Keeps only rows from the right table whose key does not appear in the left table. Symmetrical to Left Anti, and equally useful for spotting records that exist in one system but not the other — customers with no transactions, products with no sales.
A Comparison Table for Choosing Quickly
| You want… | Join kind | Row count behavior |
|---|---|---|
| All left rows, enriched where possible | Left Outer | Equals left table (unless right keys duplicate) |
| Only rows present in both tables | Inner | Less than or equal to left table |
| Left rows with no match on the right | Left Anti | Depends on unmatched count; left columns only |
| All rows from both tables, aligned | Full Outer | Left + right rows not matched |
| All right rows, enriched from left | Right Outer | Equals right table |
| Right rows with no match on the left | Right Anti | Depends on unmatched count; right columns only |
Three Mistakes That Break a Merge
Row count balloons after the merge. The right table has duplicate values in the key column. If the customer table has two rows with Customer ID 1042 — one old address, one current — a Left Outer merge produces two output rows for every transaction belonging to customer 1042. The fix is to deduplicate the right table first: select the key column, go to Home → Remove Rows → Remove Duplicates, and confirm only one row per key remains.
Every row comes back unmatched. The key columns are stored as different data types. A Customer ID that appears as 1042 on one side and 1042 (text) on the other will not match, even though the characters look identical on screen. Check the data type icon in each column’s header in the Power Query Editor — ABC is text, 123 is a whole number. Click the icon and set both sides to the same type before merging, most often Text.
Trailing spaces or inconsistent casing cause silent mismatches. North with a trailing space will not match North. Power Query’s merge is case-sensitive by default in many configurations and does not trim whitespace automatically. Run Home → Transform → Format → Trim and Format → Clean on the key columns of both queries before merging. If casing may differ, use Format → Capitalize Each Word, or add a lowercase step via Transform → Format → lowercase, on both sides.
After the Merge: What to Check
Before loading the result into the worksheet, confirm four things inside the Power Query Editor:
- Row count in the bottom-left status bar matches your expectation for the join kind you chose.
- Null count in the newly expanded columns is consistent with the join kind — a Left Outer join will show nulls where the right table had no match, and that is expected, not an error.
- The key column is still present and was not accidentally replaced by the right table’s version during expansion.
- No
Tablevalues remain unexpanded in any column — an unexpanded merge column is a common leftover when a step is added and the expand action is not repeated.
Then click Home → Close & Load to send the result to a worksheet table or the Data Model.
What to Do Next
Pick the two tables you most often reconcile by hand and set up a merge on them today. The sequence that holds up across almost every real dataset:
- Load both ranges as queries with From Table/Range.
- Trim and clean the key columns on both sides.
- Confirm the key columns share a data type.
- Deduplicate the right table on its key if it should hold one row per key.
- Start with Left Outer, then compare the resulting row count against the left table’s original count.
- If the counts differ, re-run as Inner and Left Anti to find out which rows are unmatched and why.
Once the merge is set up, every refresh re-runs it automatically. The VLOOKUP column it replaces no longer needs to be dragged down when new rows arrive.
Related guides: Power Query Append Queries: Combine Multiple Files Beginner Tutorial, How to Clean Messy Data with Power Query: A Step-by-Step Tutorial for Beginners, and Power Query Group By Beginner Tutorial: Summarize Data Like Pivot Tables.